
Take an image- a portrait is ideal. Now make three versions, each with a different degree of sharpening. Make sure the weakest of the three is quite close in on-screen appearance to the unsharpened original, and the strongest is noticeably aggressive.
I chose the following image from my archives of my niece.

I have never sharpened an image before, except when it has been slightly blurry, but the finished result was an odd-looking harsh image. Therefore, I have never tried it on an ordinary image, so this will be an interesting exercise. I applied an unsharp mask in Photoshop, and adjusted each slider; amount, threshold and radius accordingly.
Weak Sharpening; Amount 100%, Radius 1px, Threshold 50 levels

Medium Sharpening; Amount 150%, Radius 1px, Threshold 40 levels

High Sharpening; Amount 400%, Radius 1px, Threshold 5 levels

I zoomed in on the version in weakest and strongest versions in order to compare and contrast the results effectively. The zoom has shown up the poor editing job I did on this image- I can see now that the strands of hair that I tried to remove have not been quite removed in places- leaving patchy strands of hair along the models face. This is something I noticed when zooming in on the high sharpened image- showing the amount of detail it really brings out! These were edited prior to my learning about editing in the previous part of the course- I have improved greatly since then, and would now know the tools to correct this mistake properly.

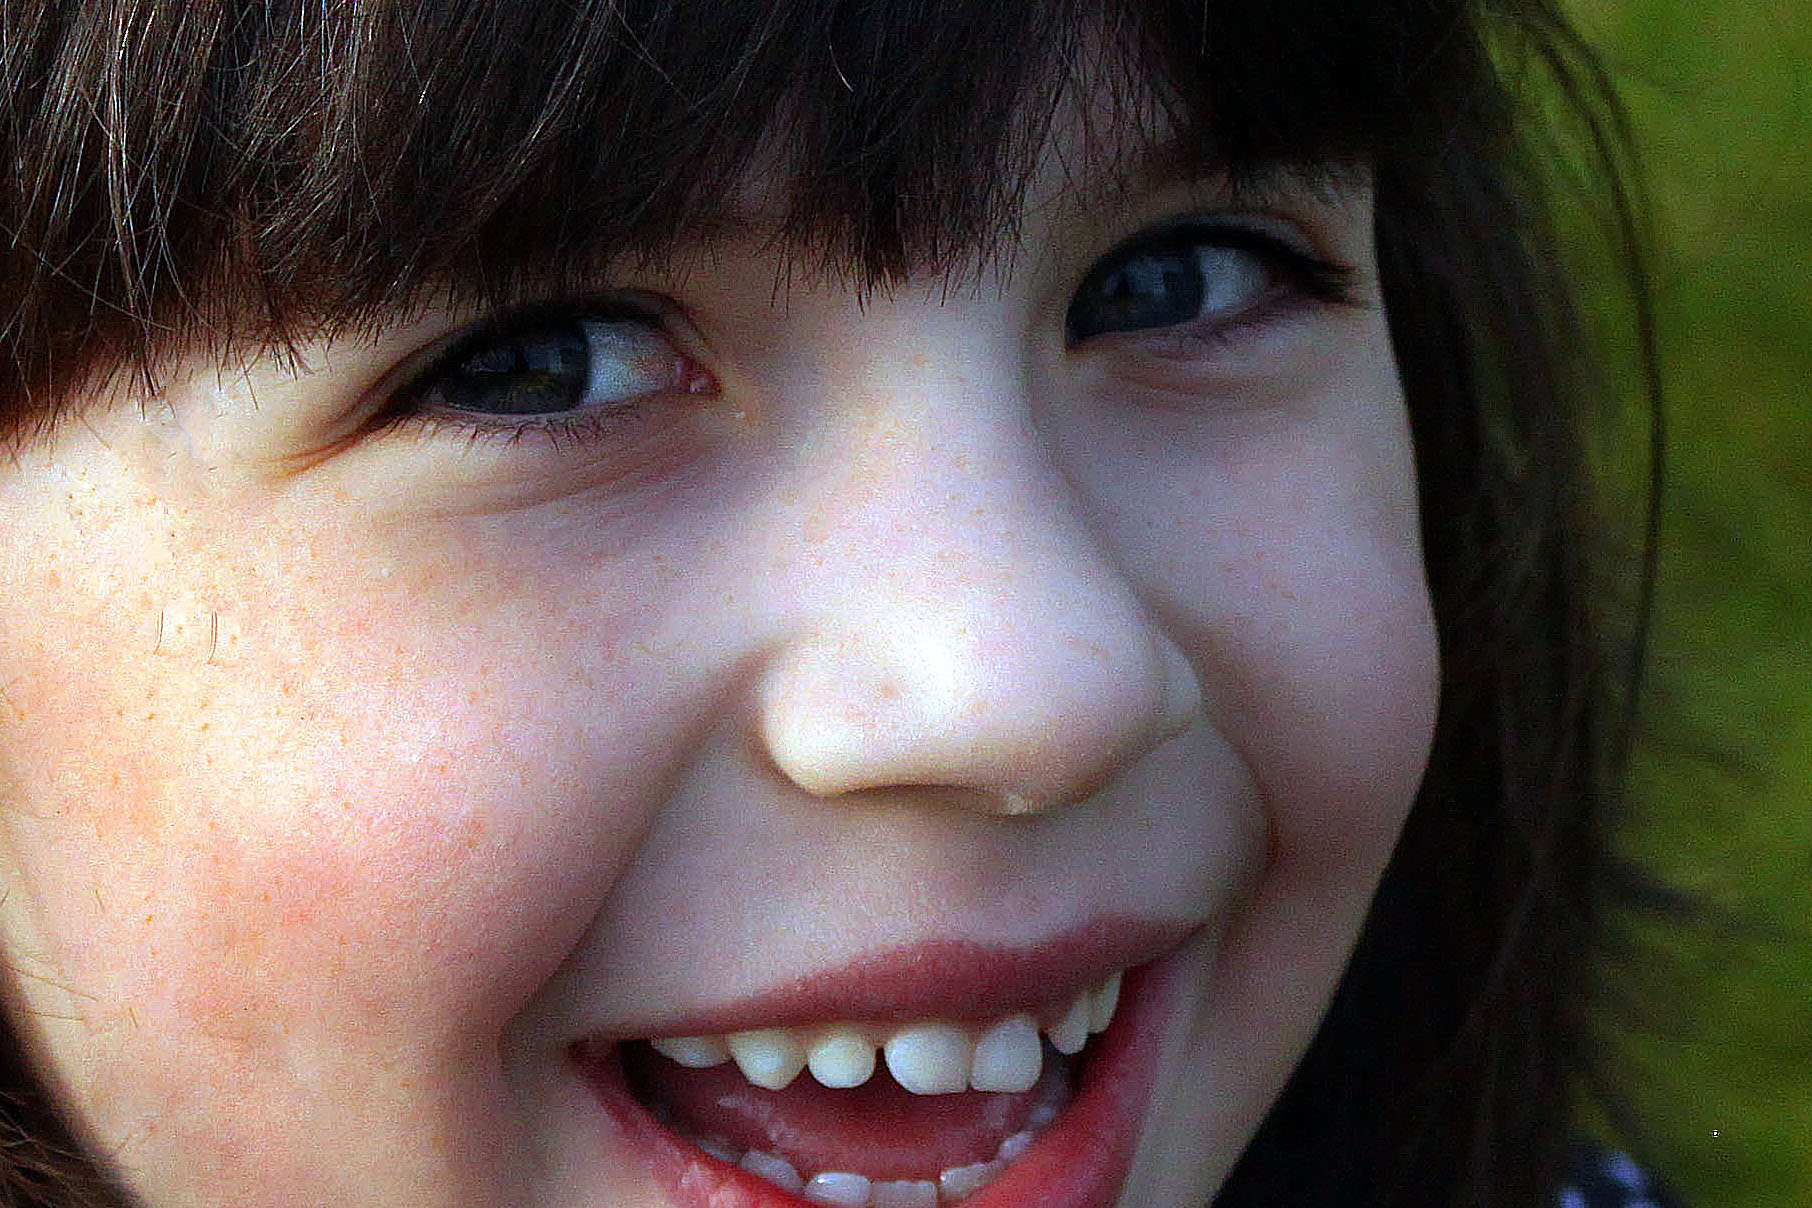
As you can see the strongest sharpening version is much more detailed- especially the eyes which are dramatically changed-appearing more vibrant. I think the strongest version is too sharp and unrealistic looking, as the edges appear too high in contrast and unnatural. I would probably go with the medium version to gain a more natural appearance yet still provide a good amount of sharpening. The issue that I have begun to see through experimenting with various images for this exercise, is that sharpening creates noise in images. Image quality is something that I would not be prepared to sacrifice. A small amount of sharpening creates a satisfactory and natural appearance, yet does not create too much noise. Therefore, I have learnt that light sharpening is beneficial and does not effect image quality too much, but heavy sharpening can completely ruin an image- both with unnatural appearance and heavy noise.
I printed each image and compared them against each other on screen and in print. I discovered that the on screen images showed more of a difference than print. When comparing the original with the weakest sharpening effect, there is more of a difference on screen, but you can see that the print version does appears slightly sharper than the original in print. The medium sharpness again shows more difference on screen, but when compared with the print the difference wasn’t as dramatic. However you could still see an all around sharper image in print. The maximum sharpness appears harsher on screen, but the printed version again is not quite as harsh. However there is slight image noise in the background of the print.
This was an interesting exercise which taught me an awful lot about the advantages and disadvantages of sharpening images while processing.
